- Home Page
- Kiting Knots
- Line Mending Knots
Line Mending Knots
For Kite Fliers, Illustrated
A number of line-mending knots are illustrated here, although you'll probably end up picking just one. It all depends what you care about: Super quick and simple? Ultimate strength? Or something in between that just appeals for some reason?
Having done some testing on old but unused line of various weights, I have been able to list the methods in order of strength. Only by tying them yourself will you discover which might be the best for you.
Personally, I was impressed with the high strength and rather neat appearance of the Blood knot. However, I'm currently going with my own invention—the Triple Granny :-) since it's so much easier to tie!
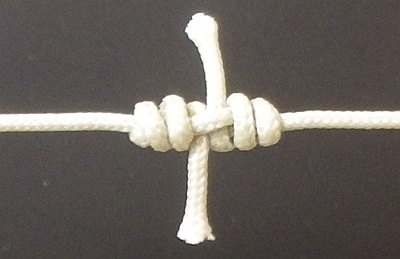 The awesome Blood knot!
On this site, there's more kite-making info than you can poke a stick at. :-)
Want to know the most convenient way of using it all?
The Big MBK E-book Bundle is a collection of downloads—printable PDF files which provide step-by-step instructions for many kites large and small.
That's every kite in every MBK series.
Multi-Strand Double Knot
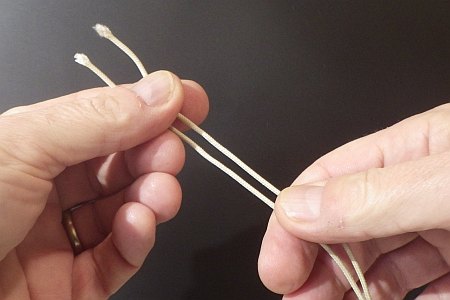 1. Start side-by-side
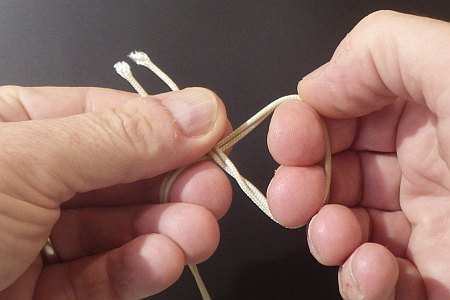 2. Loop around and cross over
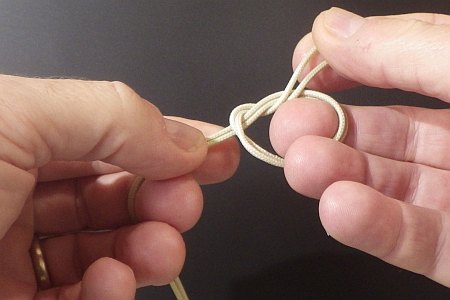 3. Around and through once
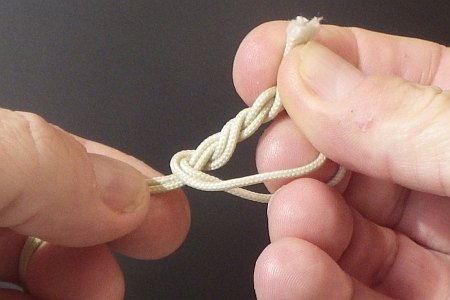 4. Around and through again
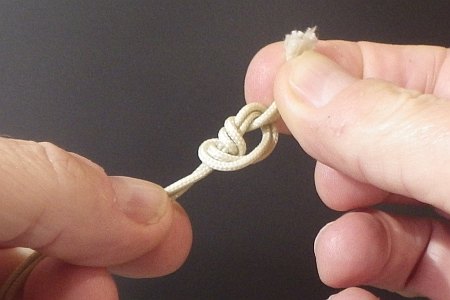 5. While loose, work towards ends
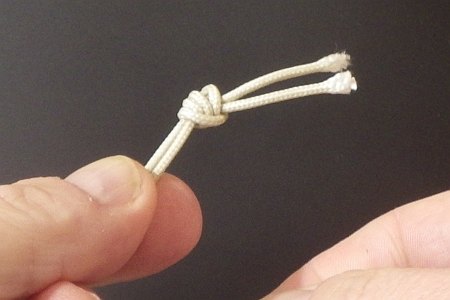 6. Pull tight
This is also referred to as a double overhand knot. The Multi-Strand Double Knot is rather handy for line mending, although my tests found that it weakened 20-pound line by about half. :-| For 100-pound line, it did better. Although ugly to look at, it's so easy to do, and that extra turn of line makes it slip-proof—unlike a simple overhand knot when connecting two lines!
If you are prototyping a new kite and need to quickly add in more length to a bridle line, then this knot is a quick-n-dirty way of doing it. The reduced strength is not so much of a concern in a bridle since the strain is shared between two or more lines.
Apart from modifying a bridle, this also came in handy for me once when scrapping an old sail and reusing the horizontal spar(s). The old bridle lines were snipped so they could be fed through holes in the new sail.
Fisherman's Knot
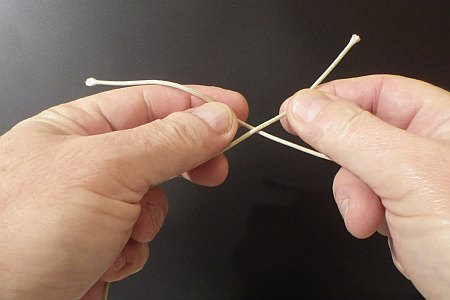 1. Left over right
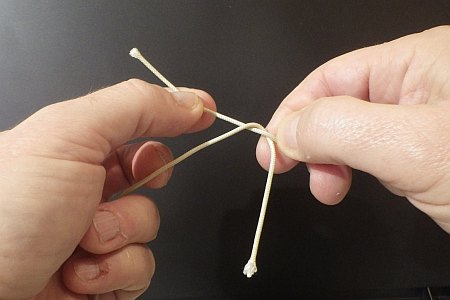 2. Around the back
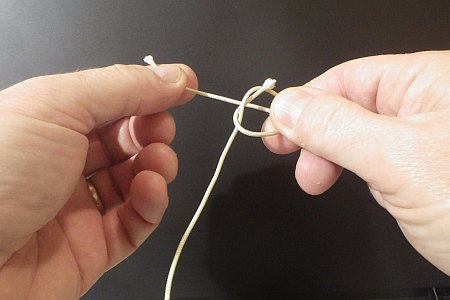 3. Simple overhand knot
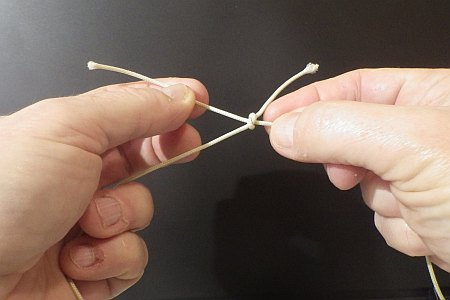 4. Pull end tight
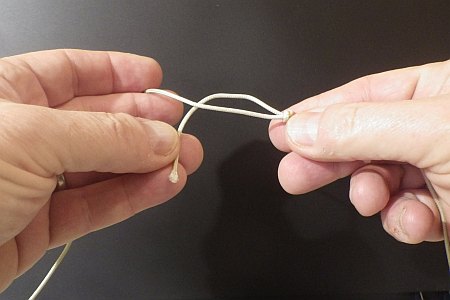 5. Take other end behind
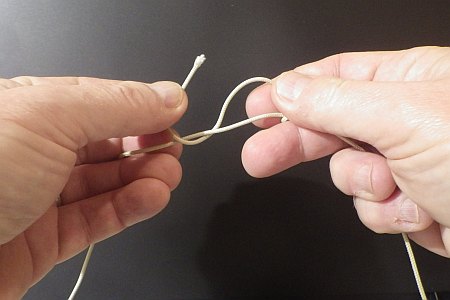 6. Up and around
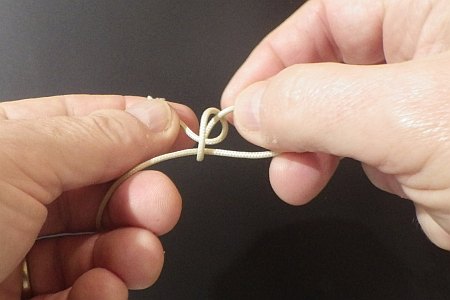 7. Behind and through
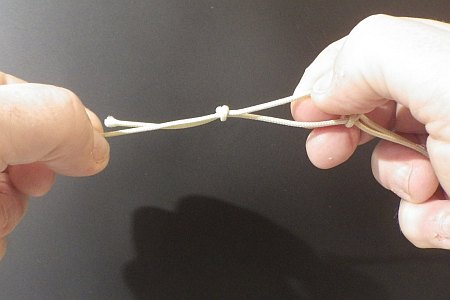 8. Pull end tight
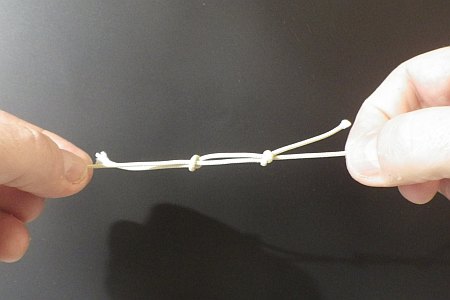 9. Pull lines apart, bringing knots closer
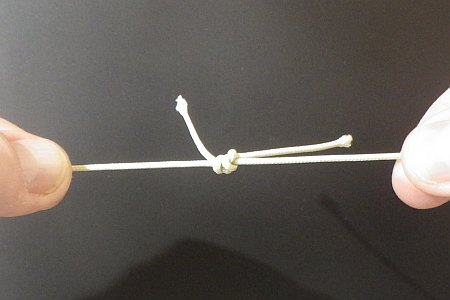 10. Pull knots together
This is also known as the Fisherman's Bend, Angler's knot, English knot, and a few others!
The Fisherman's knot, despite looking complex when done, is actually composed of two simple overhand knots. Hence it is quite easy to remember how to tie. For mending your flying line, it looks neater and is slightly stronger than the Multi-Strand Double knot.
The Double, Triple, and even Quadruple Fisherman's knot variants are stronger but not as easy to tie properly. They are not covered here, since I have to draw the line somewhere. There are so many knots out there!
Triple Granny Knot
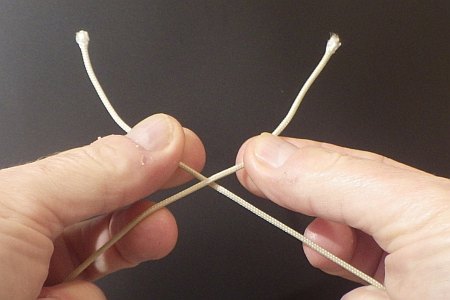 1. Cross left over right
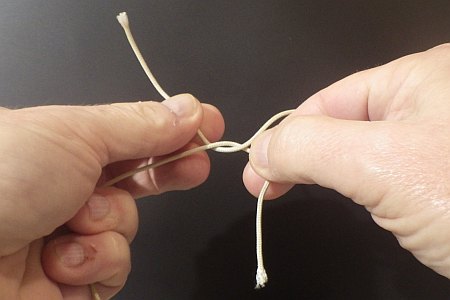 2. Around the back
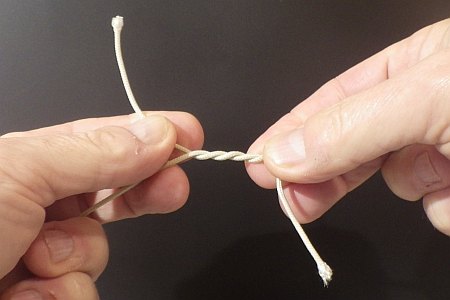 3. Around twice more
 4. Again, cross left over right
 5. Around the back
 6. Around twice more
 7. Tighten, pulling all four strands
 8. Drop short ends, tighten further
There's a chance I might not have been the first person to ever tie this, but perhaps I'm the first to name it. And therefore, I claim it as the Triple Granny. :-)
This knot did quite well in a bunch of pull tests and will now be my preferred means of joining two lines together. Or will be, the next time I spot a bad fray! Snip and fix. In actual fact, breaking a flying line in flight is fairly rare for most of us. Joining lines is more likely when trying to get a super long length to fly on or, as just mentioned, fixing bad frays before they do the inevitable. Another situation is when you've put a complex bridle together for a large kite and realize that one of the lines needs to be quite a bit longer! Snip, tie, tie, done.
Blood Knot
 1. Left end over right
 2. Round the back
 3. Around twice more
 4. Left and through
 5. Other end down and over
 6. Around the back
 7. Around twice more
 8. Through middle, opposite direction
 9. Tighten in three directions
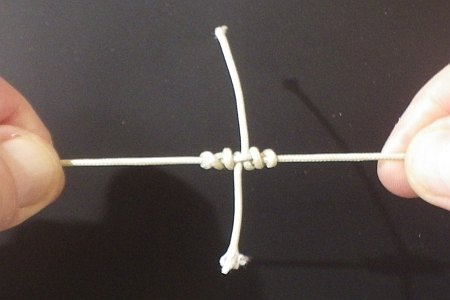 Drop short ends, tighten further
For most casual kite fliers, I think this would be the king of line-mending knots! It's a little tricky to tie, especially with line weights under 200 pounds, but it creates a connection of great strength.
For simplicity, I have demonstrated a knot with just three turns on either side. However, if you add more turns, the strength can approach 100% of the line's unknotted breaking strain! Fishermen use up to eight turns, each way, on slippery fishing line. However, I think braided nylon or Dacron would achieve similar strength on just four or five turns each way.
I trust that you will find a satisfying way to connect lengths of kite line from this selection of line-mending knots. That is, something you find convenient to remember and tie out in the field. All the knots here will hold fast, don't you worry about that. :-)
As mentioned earlier, there's more kite making on this site than you can poke a stick at. :-)
Want to know the most convenient way of using it all?
The Big MBK E-book Bundle is a collection of downloads—printable PDF files which provide step-by-step instructions for many kites large and small.
That's every kite in every MBK series.
