- Home Page
- Indoor Kites
- Indoor Diamond Kite
Indoor Diamond Kite
Observed by Security!
The newly minted Indoor Diamond kite rode safely in its transport box on the passenger seat next to me. It was a mere 2-minute drive to the shopping complex where an earlier prototype had been tested.
 MBK Indoor Diamond
This time I was a full 15 minutes earlier, some 45 minutes before the shops were due to open. But wouldn't you know it—just around the corner, a security officer and tradesman entered from another direction. Rather than slink around suspiciously with a very conspicuous black box, there was nothing for it, really, than to just get started. 8-|
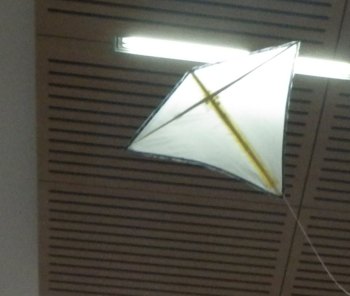
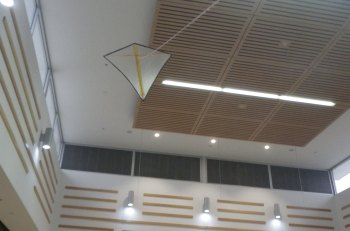
A few moments were spent checking the camera settings before the kite was drawn from the box by the thread. With the camera in my flying hand, the kite was launched from the floor on about a meter (3 feet) of thread. A few steps back and the clear-sailed diamond obediently rose up past waist height. At this point, the security guy and the tradie he was talking to had stopped to gawk. Perhaps they were not quite believing what they were seeing!
A lap or two later, flying on about 3 meters (10 feet) of thread, several photos had been snapped. The process was a little awkward, since the kite tended to lose height at every turn of the square before climbing out again over the next short straight. Of course, it was also necessary to keep switching from walking forwards to walking backwards to get a shutter press in.
On this site, there's more kite-making info than you can poke a stick at. :-) Want to know the most convenient way of using it all?
The Big MBK E-book Bundle is a collection of downloads—printable PDF files which provide step-by-step instructions for many kites large and small.
That's every kite in every MBK series.
A brief conversation with the security guy revealed that this was going to be a short session. ;-) To break the ice a bit I asked whether the air conditioning would be on at this time of day. The answer was affirmative. It wasn't hard to figure that out anyway, since indoor kites respond to the slightest movement of air. Interestingly, the air currents seemed different today, urging the kite up higher on a different part of the circuit than several days ago.
Pushing my luck a little with the mall cop right there, I briefly shortened the thread to 1 meter and did a couple of tight circular laps of roughly 1.5 meters radius. That's one of the test criteria, you see, to ensure the kite can be flown in small spaces—for example, a one-bedroom flat. During this, a comment was heard to the effect that the kite needed a tail. :-) Not this one mate, I thought to myself.
As I headed for the box to pack away the Indoor Diamond kite, I caught a brief telltale smile crossing the guy's face. Perhaps, on getting a closer look at the kite, he had some measure of appreciation for the homespun engineering that had gone into the design—or not. Who knows, really.
I'll be steering clear of this location for a while. And it will probably be a good idea to make future sessions as brief as possible even at other venues. The aim will be just to get half a dozen images rather than conduct any extensive testing; 90% of that can actually be done in our living room after all.
Indoor Diamond Kite Photo
Click or tap on the photo below to see it in hi-res.
The story or stories above document actual flying experiences. My write-ups are definitely "warts and all," since things don't always go totally as planned. However, half the fun of kiting is anticipating the perfect flight. When it happens, it's magic!
As mentioned earlier, there's more kite-making info here than you can poke a stick at. :-)
Want to know the most convenient way of using it all?
The Big MBK E-book Bundle is a collection of downloads—printable PDF files which provide step-by-step instructions for many kites large and small.
That's every kite in every MBK series.

