- Home Page
- How To Fly
- Useful Tips
How to Make Kites Fly Straight
A Bunch of Useful Tips That Work
This set of guidelines on how to make kites fly straight assumes you know absolutely nothing about kite tuning.
Do you use hardwood dowel or bamboo skewers for spars? If so, don't be surprised if the first flight of a new kite shows up some small tendency to pull left or right—particularly when the wind strength peaks during gusts.
Big kites are less bother than little kites, have you noticed! The small designs just need more attention while they are in the air, largely because they tend to have smaller wind ranges.
Not only this, but when you make an actual change, it makes more difference on a small kite than on a large one. For example, you might need to shift a bridle knot by a few millimeters or small fraction of an inch.
A minute change can make all the difference on a small kite.
Another observation regarding size is this:
It's very convenient and often beautifully effective to fix an errant small kite aerodynamically.
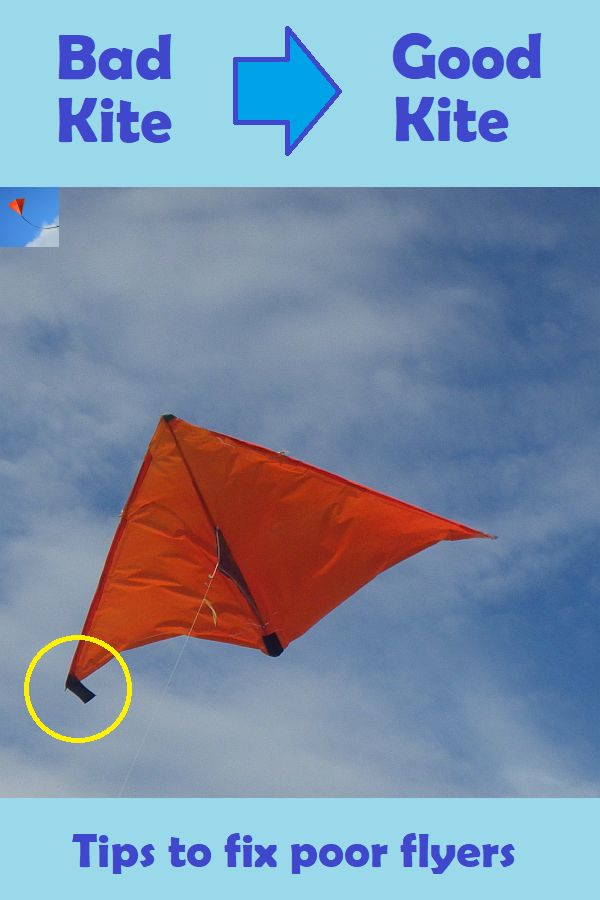
I'll say that again in English. :-) A bit more tail, or a tiny strip of plastic fluttering from a wingtip, can completely cure a small kite that used to misbehave all the time.
On the other hand, larger kites can make a similar transformation from poor flyers to great flyers. All it might take is the removal of little wood from the right parts of a spar, making it a fraction more flexible.
Anyway, the sections below provide a bit more detail on how to make kites fly straight.
(Regarding that pinnable image—it's much bigger when pinned.)
On this site, there's more kite-making info than you can poke a stick at. :-)
Want to know the most convenient way of using it all?
The Big MBK E-book Bundle is a collection of downloads—printable PDF files which provide step-by-step instructions for many kites large and small.
Every kite in every MBK series.
Tails—Long, Tiny, Asymmetric
Here's how to make kites behave themselves using the magic of tails!
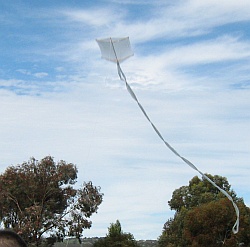 Long main tail
Personally, I like to fly with as little tail as possible, regardless of how big the kite is. But little kites, in particular, sometimes need quite a bit of tail length to fly reliably, like the 1-Skewer Rokkaku over there in the photo.
When it comes to the stabilizing effect, the longer the better!
As long as the material is very light, the extra weight of a tail is hardly significant. However, the air flow dragging at all that material will keep the kite a bit lower than it would otherwise fly. The MBK 1-Skewer Sode and the 1-Skewer Rokkaku both require rather long tails.
Usually, a longer tail just turns an unstable kite into a stable one. However, sometimes the kite has a turning tendency to one side. In this case, more tail can make the kite's flying satisfactory. Other methods are better, though, since they fix the problem more directly.
 Tail-let
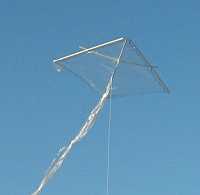
Adding a small tail-let to one side of a kite is increasingly effective the stronger the wind gets. That's just what you want! I have stuck a short length of tail material to a 1-Skewer Delta wingtip (see the small photo), a 1-Skewer Diamond tip, and even a side longeron of the 1-Skewer Box kite to get them flying straight and true.
The majority of kites I have made have been fine, but just occasionally a fix is required.
Never forget the tape when you go out to fly a new kite!
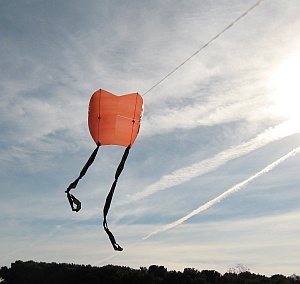
Some kite designs lend themselves naturally to twin tails. A common example is the two-stick sled kite. Others include barn doors, sodes, and doperos. This can be convenient when you need just a very small correction for the kite's turning tendency. You simply add more tail to one side! There's our original 2-Skewer Sled in the photo.
Of course, if a looped tail is being used, you have to find some other way to make the correction.
I can recall doing the asymmetric tail thing to one or two sleds in both the 1-Skewer and 2-Skewer sizes. So that's how to make kites fly straight, the easy way—fiddle around with tails!
 Twin tails
Sometimes it's a Spar
In bigger kites, a horizontal spar with uneven stiffness can often be the culprit for a turning tendency. There are two separate cases here.
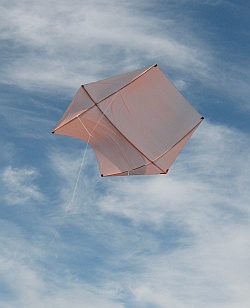 Bowed spars
First, totally flat kites with one- or two-leg bridles will distort under air pressure. This is fine up to a point, but what happens if one side of the spar bends more than the other? The effective sail area becomes unequal, with the kite turning toward the side with less area. This can severely limit the wind range of the kite, causing it to lose height as soon as a little extra wind strength comes on.
Second, other kites (such as most of those in my Dowel Series) have a bow pulled into the horizontal spar(s). If there is any unequal stiffness, one side will bow more than the other. Now the kite is unbalanced even in light winds! Mind you, the effect is less noticeable in light winds.
Hence part of the process of making a good dowel kite is checking and correcting the spar curvature before flying the kite for the first time. That's the way of least frustration, although it's still possible to remove some wood from the spar after the first flight or two.
Deltas are a little different, but they too can suffer from uneven stiffness—not in the horizontal spreader, but in the leading edge spars.
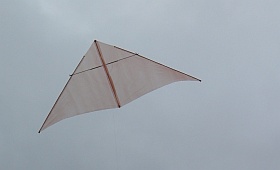 Straight spine
Basically, one such spar bends more than the other one, when the kite is leaning back and trying to climb. Again, the effective sail area on one side becomes less than the other. Sanding down one spar to a very slightly smaller diameter than the other fixes the problem. You might think that this would cause a weight imbalance in the wrong direction, but in practice the stiffness matters far more. Not only that, but stiffer spars are usually heavier, so removing a little weight is a good thing in that case!
I once had a problem with vertical spar curvature in a 2-Skewer Roller. Vertical spars need to be dead straight, of course, otherwise the kite will always try to steer itself to one side. After carefully bending the vertical spar of the roller to counteract the curve, the kite flew straight up and rewarded me with a long high flight—very gratifying!
Learning how to make kites with accurate spar curvatures really lets you get more out of dowel designs.
Adjusting the Bridle
Here's how to make kites behave just by shifting a single knot.
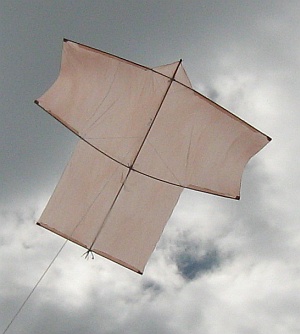 Steady on four legs
Multi-leg bridles are a last resort way to get a misbehaving kite into good trim. If you go out on a fresh wind day, it's easy to see how to make kites loop left or right at will, just by sliding a bridle knot left or right.
These bridles feature one or more loops that go from one side of a horizontal spar to the other. Another bridle line, or the flying line itself, is attached to the center of the bridle loop with a sliding knot or some other means of easily adjusting the position of the attachment point.
If a bridle loop is fairly short, shifting the attachment point left or right along the loop has the effect of redistributing sail area. Suppose the attachment point is off to the left. This leaves less sail area to its left and more sail area to its right. The uneven lifting force acting on the kite sail will then try to loop it to the left. Hence, by making tiny changes to the attachment point position, you can trim out any unwanted tendency for the kite to turn.
If the kite has more than one horizontal loop, I find it simplest to just alter the knot on the upper one. That's where most of the flight loads are taken, and shifting that knot makes more difference.
How to Make Kites Balanced
Does a kite need to be carefully balanced so both "wings" are precisely the same weight? Well, it sure is a nice feeling knowing that your kite is perfectly balanced in this way, but aerodynamic factors seem to make much more difference on kites! So I'm never too fussy about checking for lateral balance these days. Perhaps deltas are more sensitive to it than other kite types.
The thing about a weight imbalance is that it makes the most difference at the low end of a kite's wind range. As the wind picks up, aerodynamic flaws start to show up, but of course the weight balance never changes. Its effect gets more insignificant, the harder the wind blows.
To correct a weight imbalance, it would be smarter to try and remove weight from a spar tip rather than add weight to the other tip! You know the rule: "The lighter the better."
Adding some tail weight is sometimes necessary to make a kite stable! This is fairly rare for classic, proven designs. However, I did find it necessary for the original MBK Dowel Roller! Perhaps by some fluke the heaviest parts of the dowels ended up near the nose end of the kite, making it incapable of recovery if it ever went over on its side. A five cent coin taped to the trailing edge of the keel made all the difference.
I hope you picked up an interesting point or two on how to make kites fly straight, from all this!
The Dowel Barn Door in the video below needed a small tweak on the bridle loop knot to get it flying better. Sometimes it's because you didn't get the knot dead center in the first place! But on the other hand, if there was a built-in flaw like an unbalanced spar, shifting a bridle knot is certainly a quicker and easier fix.
As mentioned earlier, there's more kite making on this site than you can poke a stick at. :-)
Want to know the most convenient way of using it all?
The Big MBK E-book Bundle is a collection of downloads—printable PDF files that provide step-by-step instructions for many kites large and small.
That's every kite in every MBK series.
