- Home Page
- Better Kites
- ... Rokkaku Kite
How to Make a Rokkaku Kite
Step by Step—Page 3 of 3
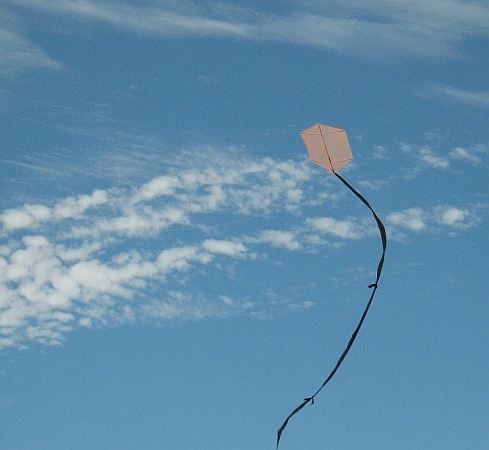
The MBK 1-Skewer Rokkaku
How to Make a Rokkaku Kite
Flying!

First, if it's very windy outside, stay home! This is a light-to-moderate-wind kite and won't like being launched in a gale.
Assuming there is some breeze outside, just dangle the kite at arm's length until the wind catches it. As long as you feel the kite pulling, let out line slowly by taking loop after loop off the winder.
Out in the Field
Rokkaku-kite stories of my real-life flying experiences are worth checking out!
Illustrated with photos and videos, of course.
Another
approach is to get a helper to hold the kite up and let it go, on the
end of maybe 15 or 20 meters (50 feet) of line. This way, the
kite soon gets high enough to make it easy to let more line out.
I've had this kite up to 200 feet altitude in an ideal breeze. Have fun flying, and I hope you've enjoyed learning how to make a rokkaku kite!
Now, just in case you have actually made and flown this kite at least once already:
Flight Reports From Other Visitors
Click below to read about various kite-flying adventures, contributed by other visitors to this page...
Cracking Little Kite!
This is a great tutorial and I just want to share my experience.
This is a fun kite to fly, is very stable even in strong breezes and has not crashed …
As mentioned earlier, there's more kite making on this site than you can poke a stick at. :-)
Want to know the most convenient way of using it all?
The Big MBK E-book Bundle is a collection of downloads—printable PDF files which provide step-by-step instructions for many kites large and small.
That's every kite in every MBK series.
