- Home Page
- Kite Plans
- Diamonds
Diamond-Kite Plans
For All the MBK Diamonds
These diamond-kite plans and hints are aimed at summarizing the more in-depth instructions to be found in the How To Make A Kite section of this website.
For each of the diamond plans below, there are also a pair of plan-view photos.
The one on the left is of the front surface. That is, the side of the kite which faces the flier. The other photo is of the back surface, which exposes the spars.
For all three designs, attach flying line to the bridle with a shiftable knot for later trimming. Also, all three designs work well with light single-ply plastic for sail material. Many large plastic bags are suitable.
On this site, there's more kite-making info than you can poke a stick at. :-)
Want to know the most convenient way of using it all?
The Big MBK E-book Bundle is a collection of downloads—printable PDF files which provide step-by-step instructions for many kites large and small.
That's every kite in every MBK series.
Dowel Diamond-Kite Plans
Plan-View Photos
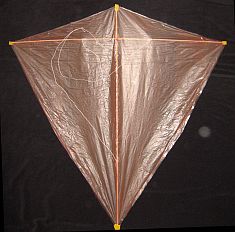 Front
Front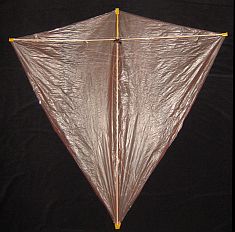 Back
Back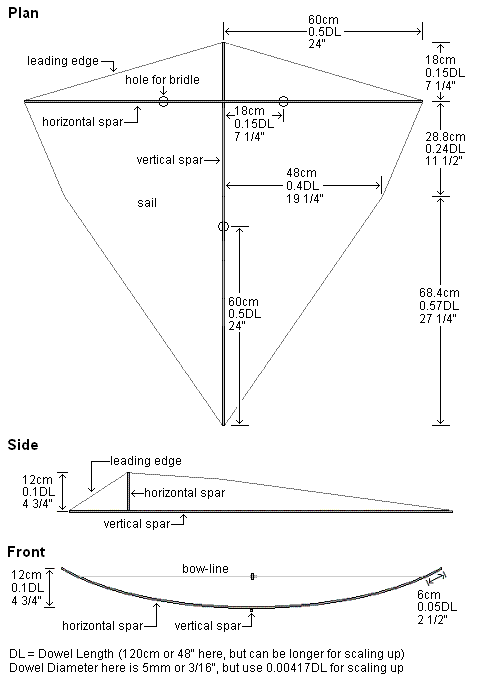
Tips and Hints
- For a dowel length of 120 cm (48 in.), 5 mm (3/16 in.) dowel works well.
- Reinforce the sail edges by adding nearly the full width of clear sticking tape inside the outline then trimming back to the outline.
- Secure the sail to each spar end using two short lengths of electrical insulation tape. One length goes over and around the tip, the other at 90 degrees to the first tape, with corners folded back under the sail.
- Lash the horizontal spar to the vertical spar with tape or string or any other method you prefer.
- Try a 0.75 DL (90 cm, 36 in.) length of line for the upper bridle loop. Use about 1.0 DL (120 cm, 48 in.) for the lower bridle line.
- At the bridle attachment points, a Double Wrap Slip knot works well, secured with a spot of glue.
- No tail is required for this kite.
There's our MBK Dowel Diamond in flight, below:
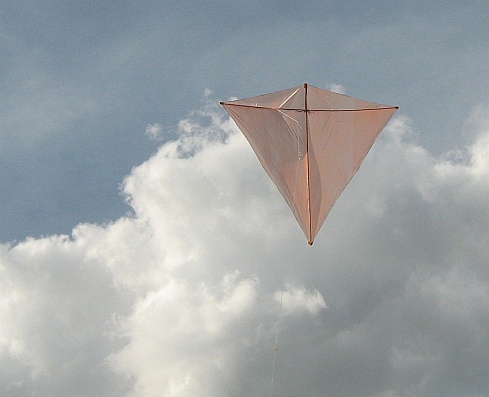 Loads of fun in the lightest of breezes
2-Skewer Diamond-Kite Plans
Plan-View Photos
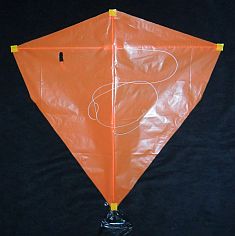 Front
Front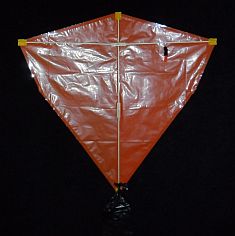 Back
Back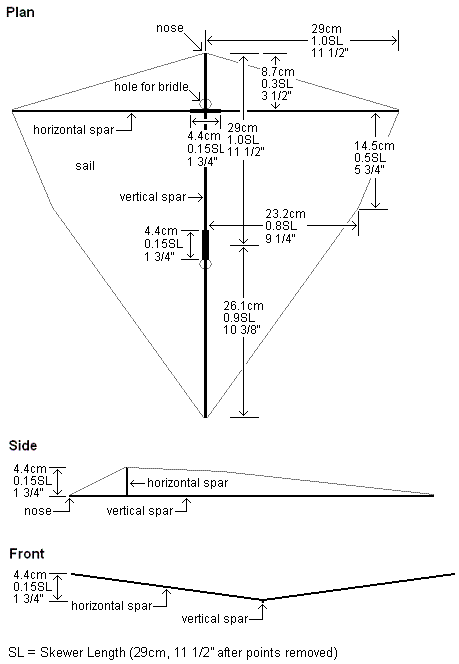
Tips and Hints
- 30 cm (12 in.) bamboo BBQ skewers work well as spar material.
- Reinforce the join in the middle of each spar with two lengths of skewer, each 0.15 SL (4.4 cm, 1 3/4 in.) long, one on each side as in the plan. The reinforcers stay flat on the table, and glue is applied along their lengths from above to join the four pieces of bamboo together.
- Reinforce the sail edges by adding clear sticking tape over the outlines. Trim back to the outline, leaving at least 3/4 of the width of the tape on the sail.
- Secure the sail to each spar end using a short length of electrical insulation tape. Fold it over the tip.
- Secure the horizontal spar to the vertical spar with glue or any other method you prefer.
- Try a length of bridle line about 4.0 SL (116 cm, 46 in.) long.
- At the bridle attachment points, a Double Wrap Slip knot works well. Add a spot of glue if you want to.
- For a start, try making a simple ribbon tail about 8.0 SL (230 cm, 90 in.) long and the width of three adult fingers.
- The tail can be attached to the vertical spar with a single Half Hitch. Trim off excess tail plastic above the knot.
Here's the MBK 2-Skewer Diamond in flight:
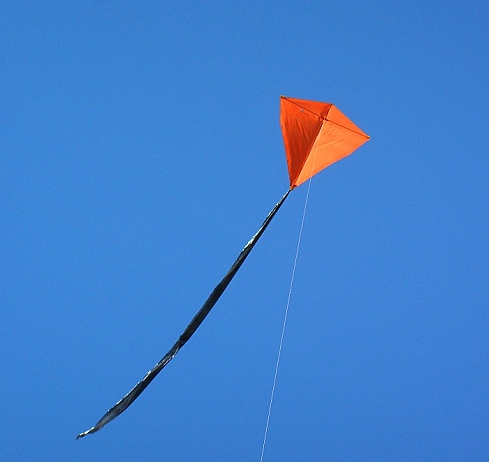 Black tail, orange sail, blue sky—it works for me
1-Skewer Diamond-Kite Plans
Plan-View Photos
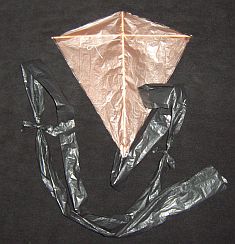 Front
Front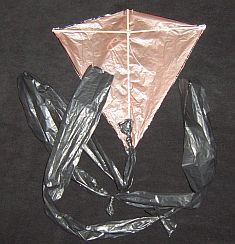 Back
Back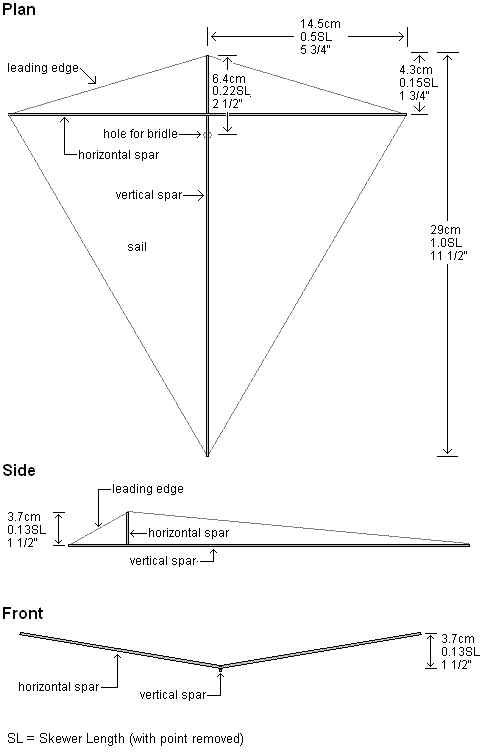
Tips and Hints
- 30 cm (12 in.) bamboo BBQ skewers work well as spars. I work with 1 SL = 29 cm (11 1/2 in.).
- Secure the sail to the spar ends using short lengths of clear sticking tape.
- After cracking the bamboo to get the dihedral angle, use a generous drop of wood glue to join the spars where they cross and hold the dihedral angle firmly.
- Try a length of bridle line about the length of one skewer. Let half hang out the front of the sail and the other half out the back. Secure with a small drop of glue. The kite can now be easily included in a kite train.
- For a start, try making a tail about eight times as long as the length of the kite itself and two adult-finger-widths wide.
There's an MBK 1-Skewer Diamond in flight, below:
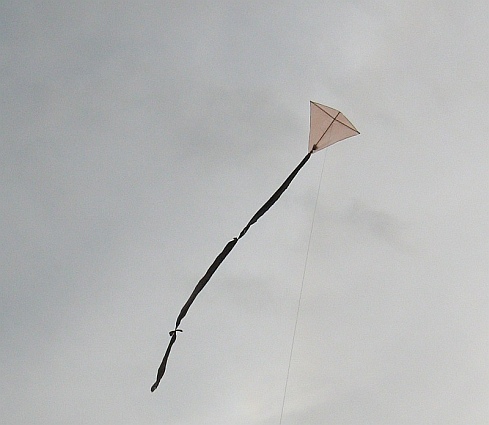 Knots in the tail only make it more effective
Out in the Field
Diamond-kite stories of my real-life flying experiences are worth checking out!
Illustrated with photos and videos, of course.
I hope one of these diamond-kite plans is just right for you.
As mentioned earlier, there's more kite making on this site than you can poke a stick at. :-)
Want to know the most convenient way of using it all?
The Big MBK E-book Bundle is a collection of downloads—printable PDF files which provide step-by-step instructions for many kites large and small.
That's every kite in every MBK series.
